1. Accessing WordPress.org
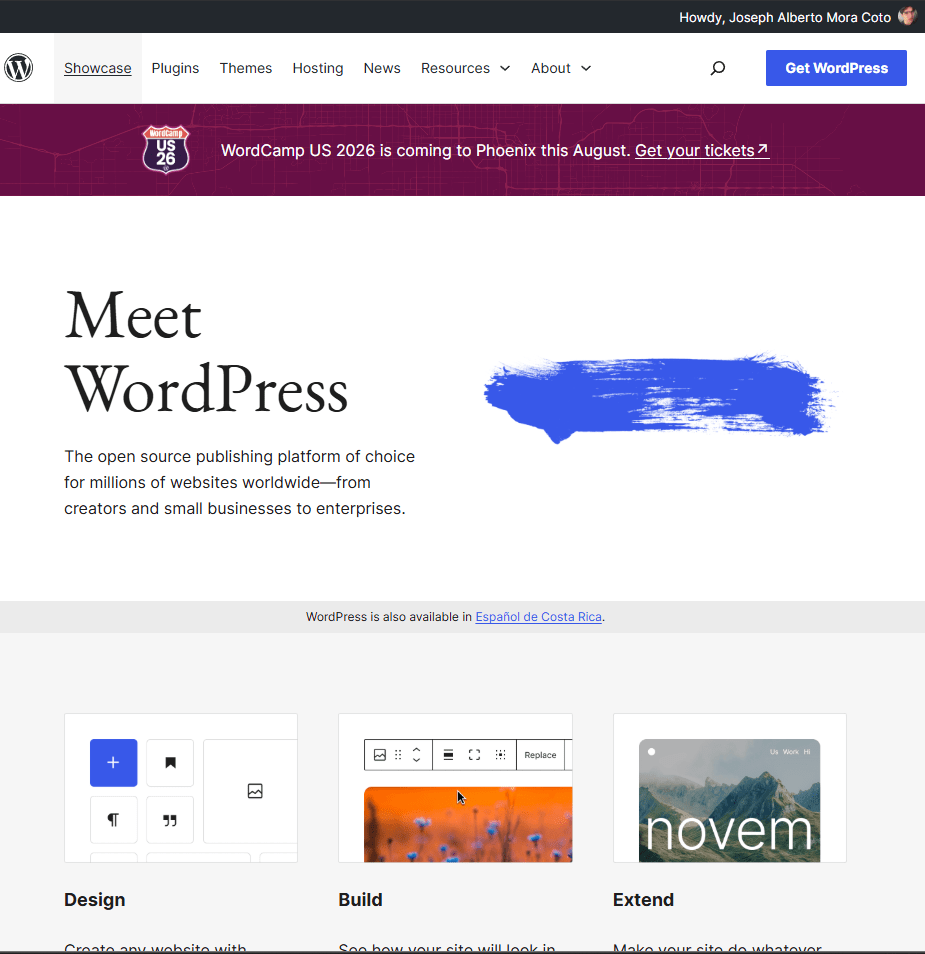
Before using the translation platform, I accessed WordPress.org and logged in with my contributor account. This account was necessary to enter the different WordPress community tools and participate in translation projects.
2. Entering the Translation Platform
After logging in, I visited translate.wordpress.org, the official platform used by the Polyglots team. The tool where WordPress translations are organized and submitted.
3. Finding My Locale
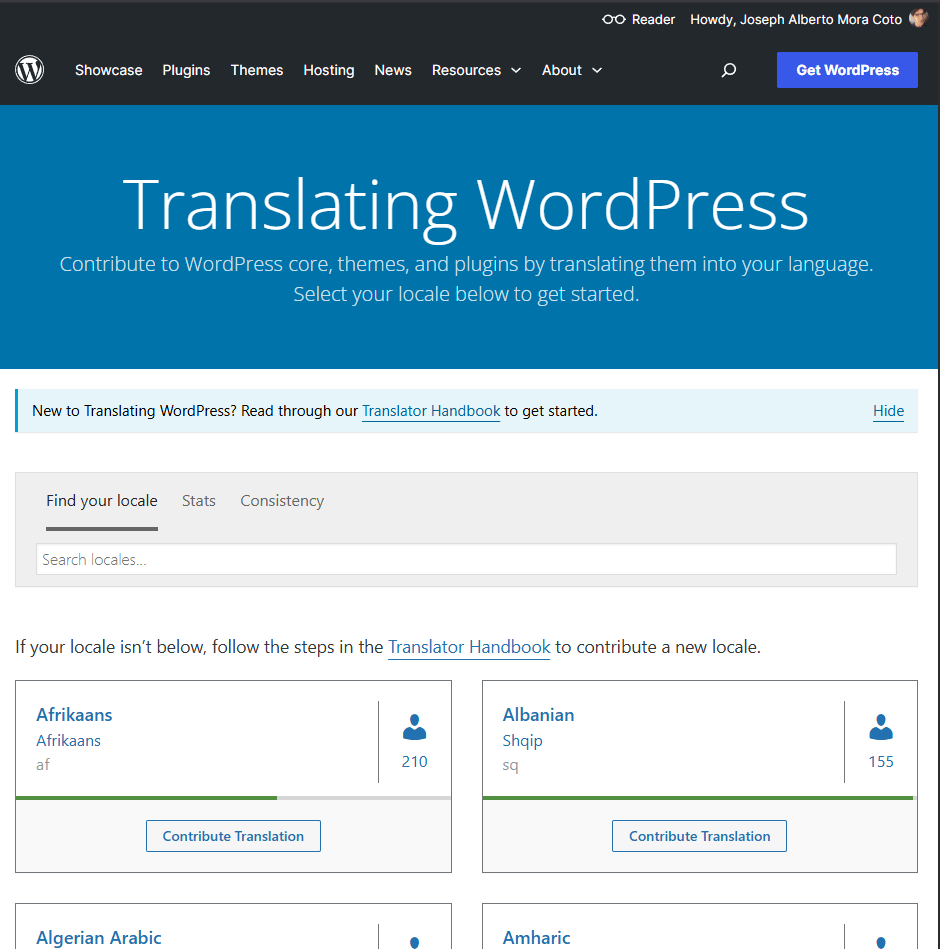
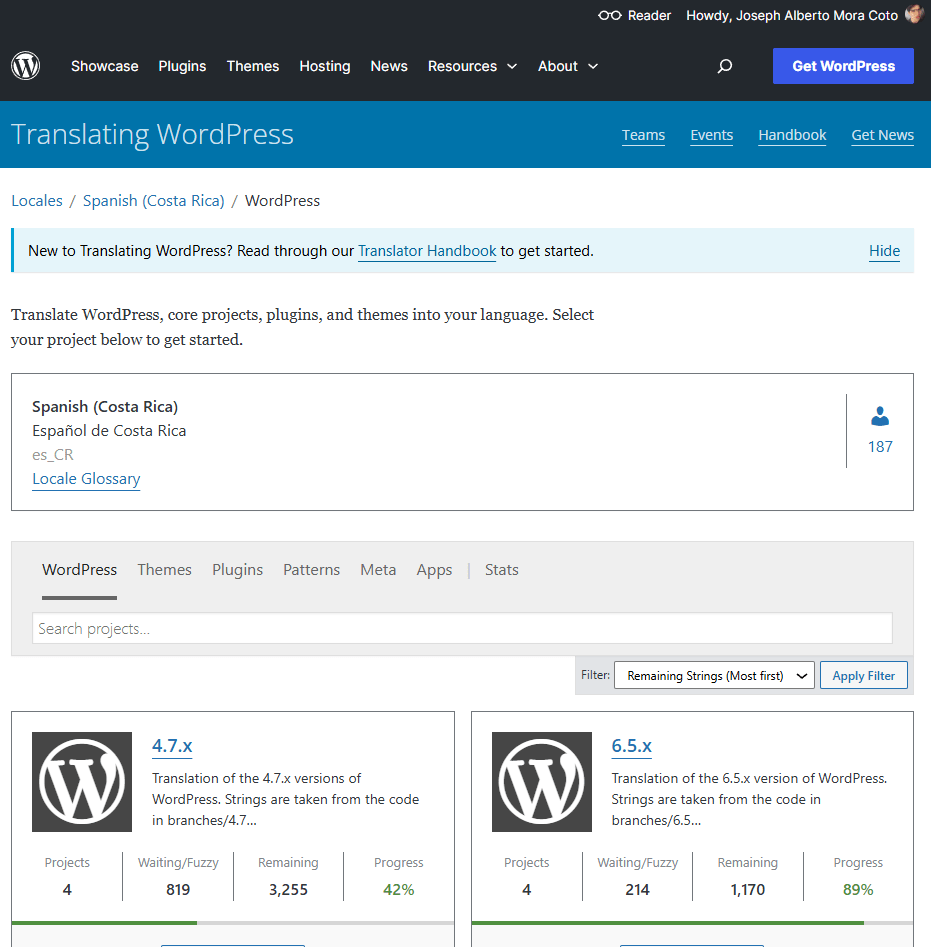
On the translation platform, I searched for Spanish (Costa Rica) and selected the corresponding locale. This allowed me to access the projects available for the Costa Rican Spanish community.
4. Exploring the Platform for the First Time
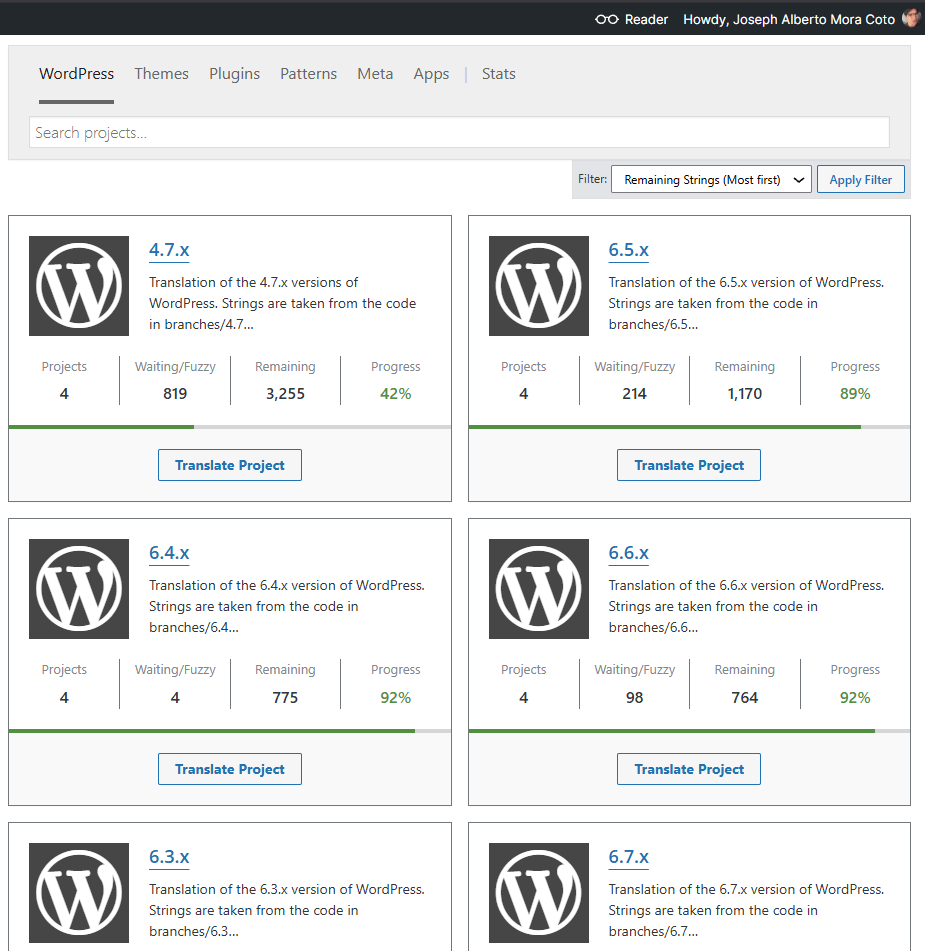
Once I entered the locale, I explored the available sections, including WordPress Core, themes, plugins, patterns, and other projects. This helped me understand how the platform is organized before selecting content to translate.
5. Opening a Translation Project
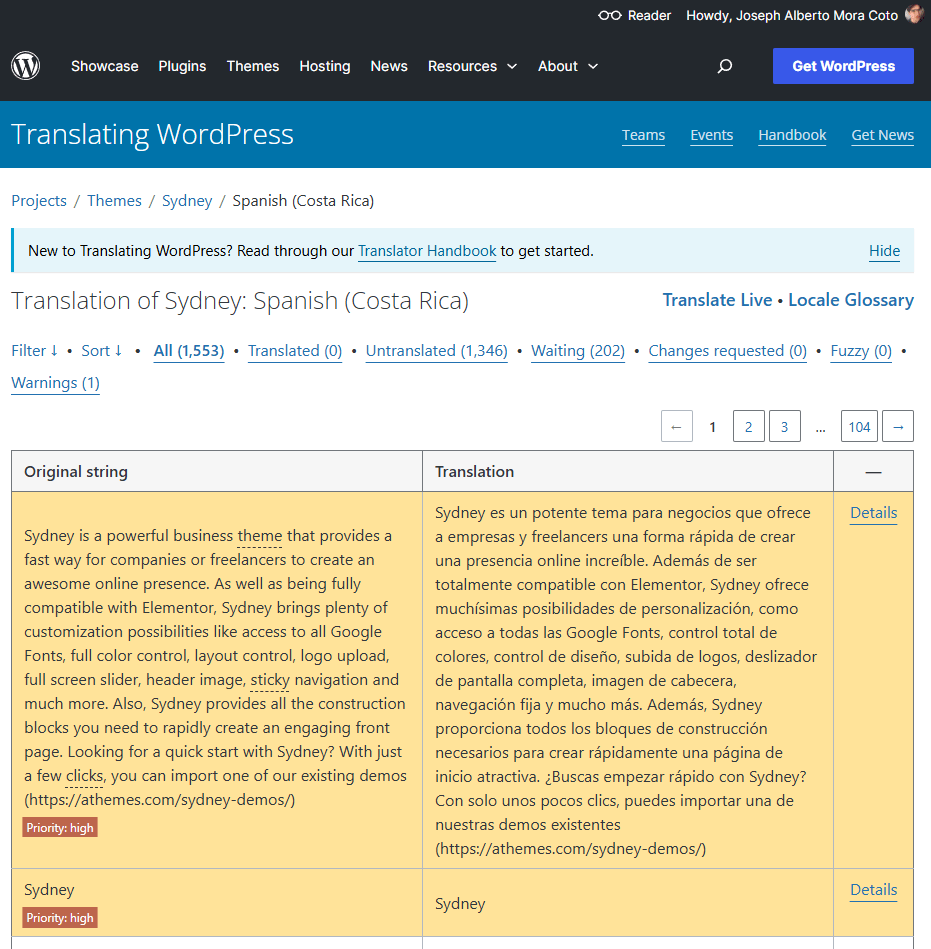
Finally, I selected a project and entered its translation page. There, I could see the original strings, their translation status, and the options available for contributors.


Leave a comment